
Kinako Wig Styling


Setting Up
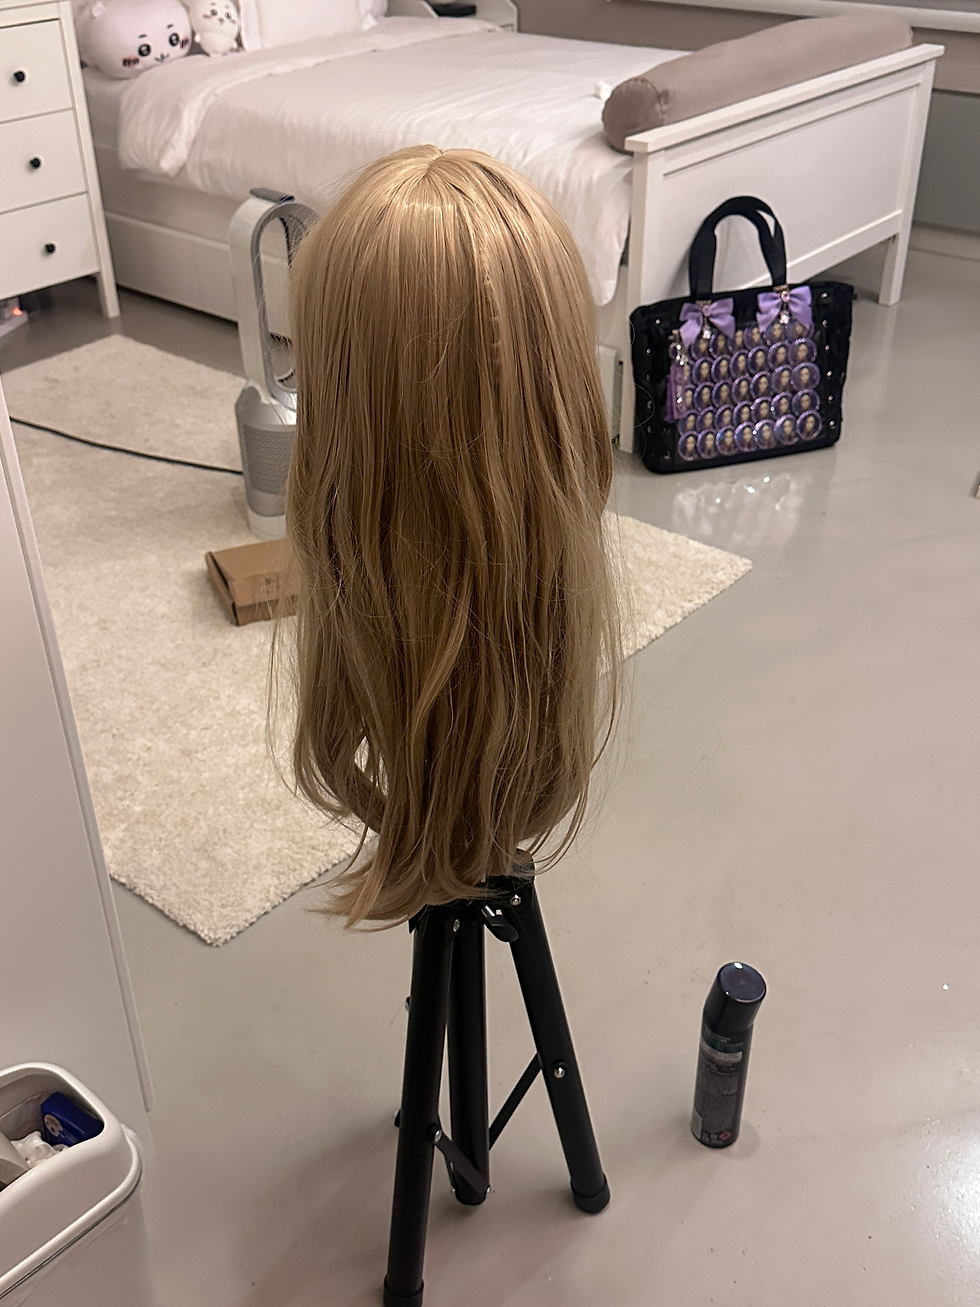
I started by placing my wig on the stand I bought a while back. I sprayed some leave-in conditioner and used a brush to get rid of any tangles before getting into the actual styling.
Trying It On First
Before cutting, I always try the wig on. I put on a wig cap, wear the wig, and use a regular marker to make small marks where I want to cut.
Cutting the Front Bangs
I cut the front bangs horizontally, working slowly and thinning out the hair as I go. This makes it look more natural and fits my face shape better.
Thinning the Edges
Once I had the length I wanted, I used thinning scissors to soften the edges.
Creating the Side Pieces
For the two pointy side pieces, I made sure to gather the same amount of hair on each side to keep things balanced.
Heating the Hair
I used a hair straightener to lightly heat up the hair first. This makes it easier to style. (It makes it fluffier, but make sure the heat isn't too high or else it'll probably get fried...)
Refining the Shape
With the shape mostly there, I used both regular and thinning scissors to make small adjustments until I was happy with it.
Setting the Shape with Hairspray
I sprayed hairspray on the piece from a distance, held it in the shape I wanted, and used a hair dryer with hot air to set it.
Brushing It Out
I brushed the piece out again. The shape might get undone a bit, but I usually repeat this step around 4–5 times to build up a natural, curled look.
Final Setting
I applied more hairspray and dried it with a hair dryer one last time to lock in the style.
Repeat for the Other Side
I repeated the same steps for the other side so everything matched.
Optional Bang Fix
I also fixed up some of the small bangs that frame my face. This step is optional, but I like how it adds a finished touch to the whole look.
Process Pictures ~


Results ~


If you want to see more pictures, check out my account on Instagram!
@kuro1_cos
The creator noticed me and reposted my cosplay!!


Comments