
Yae Miko Wig Styling

Updated: Oct 25, 2024

I'm so sorry not putting the pictures in the steps. I did at first but the website glitched and all my pictures are gone. I tried again and somehow it still wouldn't work. I placed the pictures below the steps. Please contact me if you have any problems or questions!
Brush the Wig
You can’t work on a tangled wig, so make sure to brush it out first.
Prepare the Ear Base
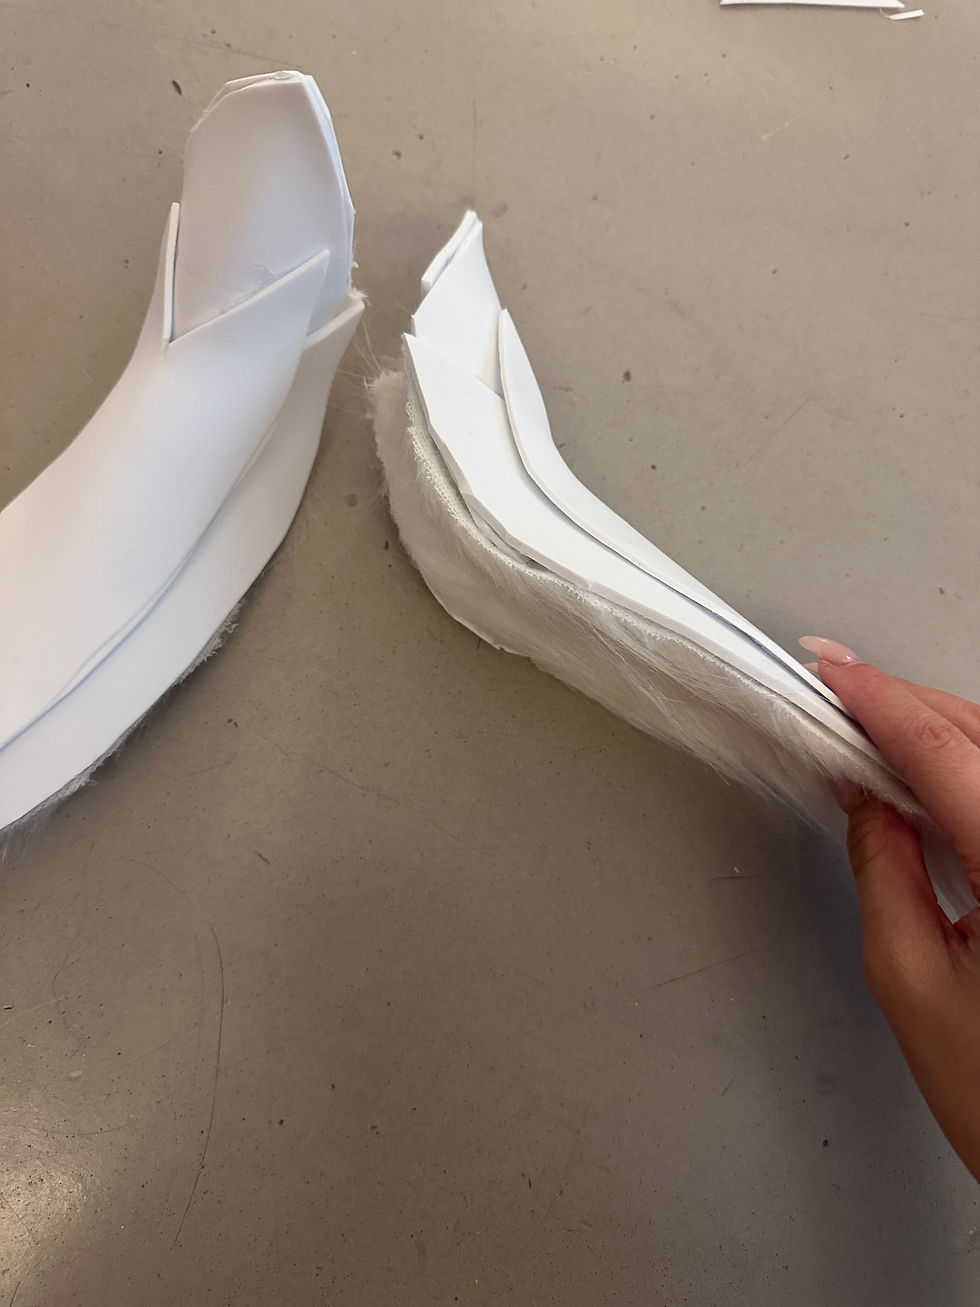
Use a cosplay material (it’s kind of like foam but not exactly—people use it often in cosplay) to shape the ears.
It took a few tries, but once I got the shape right, I hot-glued the pieces together to make two ears.
Attach the Ear Base to the Wig
Clip up the wig’s hair and find the spot where you want to attach the ears.
Glue fur fabric under the ear bases with hot glue.
Add an extra piece on top if the original shape feels too low or flat.
Add the Earrings
Since the character has earrings, I pierced them through the ear base before attaching it to the wig.
Glue the Ears to the Wig
Lift the wig and locate the wig lace.
Add hot glue (plus some super glue for extra hold) to the ear base and stick it to the lace. Hold it in place until it dries.
Repeat this step for the other ear.
Add Extra Hair to Cover the Ear Base
Since the wig didn’t have enough volume, I cut strands from another pink wig.
Glue these strands onto the ear base to cover the white parts.
Once everything is covered, let the top layer of the wig hair down to blend with the ears.
Trim and Shape the Ears
Brush the hair around the ears and smooth it with hairspray.
Trim any stray hair pieces hanging off the ears to match the character’s look.
Add Curves to the Fox Ears
Spray the hair with hairspray and blow it upwards with a hairdryer to create the right curve.
Style the Front Bangs and Side Pieces
Separate the bangs and side hair into small sections. Use pins to keep the pieces organized.
Spray each section with hairspray and blow hot air upwards for shape.
Use a hair straightener on the sides if needed, but just a bit to get a fluffy effect.
Shape the Longer Side Bangs
Divide the side bangs into top, middle, and bottom segments.
When styling each segment, spray it with hairspray and blow the hair inward for better face-framing.
Set the Front Hair
Once you’re happy with the shape, use pins to hold the hair in place and set it with hairspray.
Style the Back of the Wig
Brush the back hair smoothly and divide it into three sections.
Use a zip-tie-like material to secure the middle section and rubber bands for the two smaller strands.
Tie the three strands together at the bottom with the zip tie.
Add the Hairpiece and Accessories
Attach the character’s hairpiece to cover the tied part.
Add any other hair accessories to complete the look.
Final Touches
Spray everything with hairspray one last time.
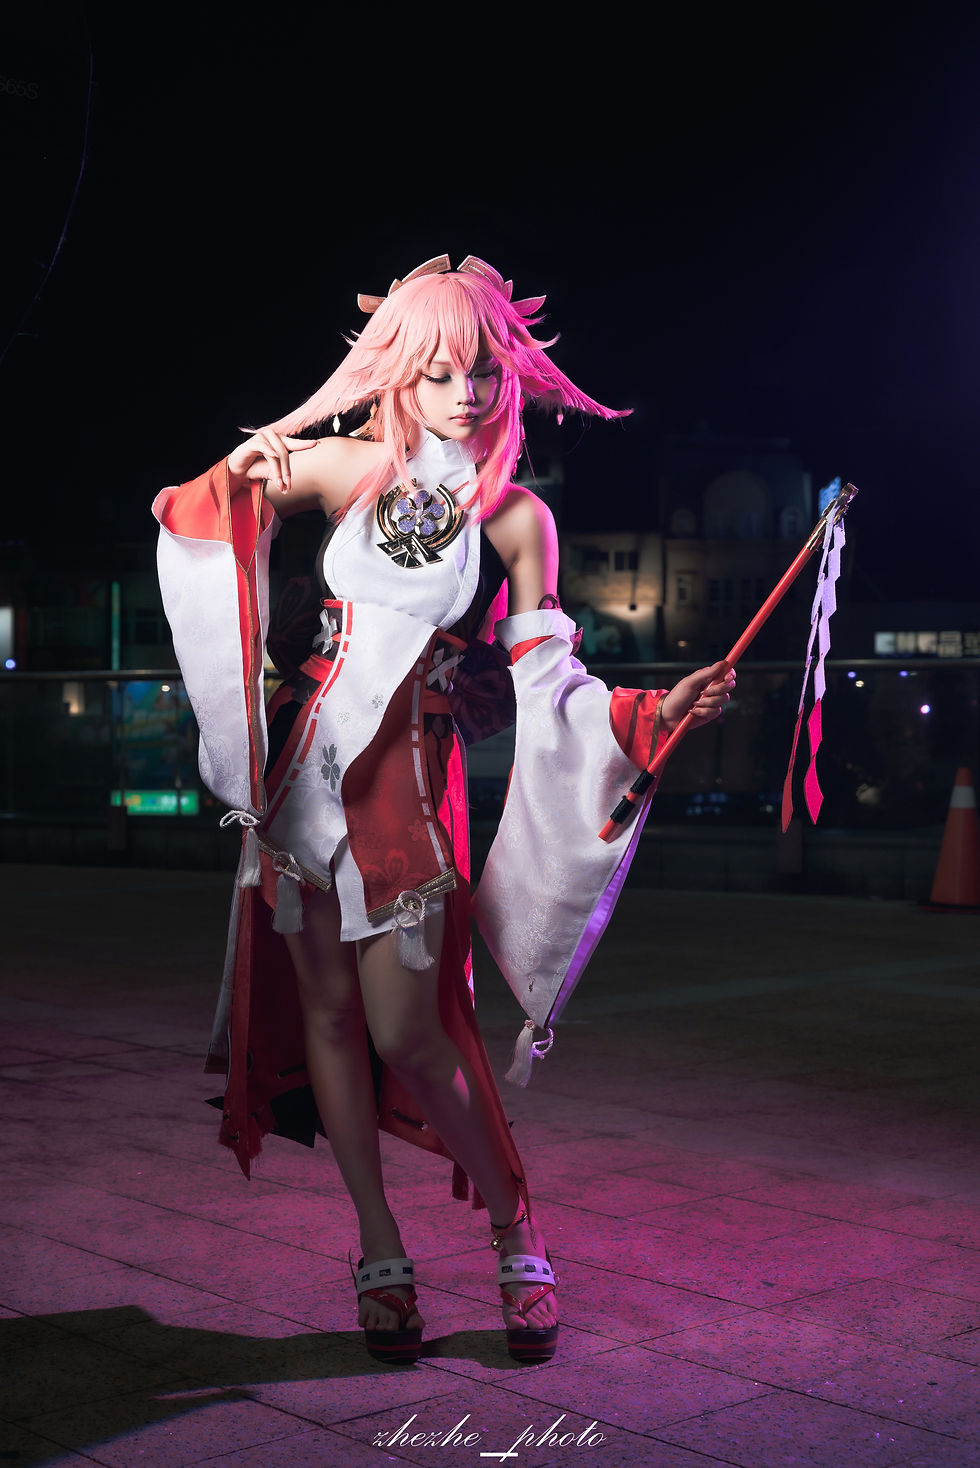
Done! 🎉 This whole process took me more than two days, but it was worth it.
Pictures ~




Results ~



Comments